It’s been a long time since I’ve actually written a blog entry for my personal side. My day to day has been filled with rolling strips of paper into many different creations, work, and just day to day grind. I hope you’ve enjoyed seeing my art, though. I take pride in my artwork. It also makes me happy to hear and see people’s reactions and comments from others about how they love what I make for them…
My son has been sick off and on for over a month now and I pray that we can get a handle on his asthma symptoms. Usually his asthma only gets triggered a couple of times a year, but he’s been having to use his inhaler off and on since he got bronchitis. We don’t know if he’s using his inhaler more because of that or if it’s because of his sports activities and him going through a whole new aspect of this asthma (activity induced). He’s had a chest X-ray and that came back clear- praise God. It’s just kind of scary how much crud he coughs up. Please keep him in your prayers that we get him back to his normal physically fit, athletic self.
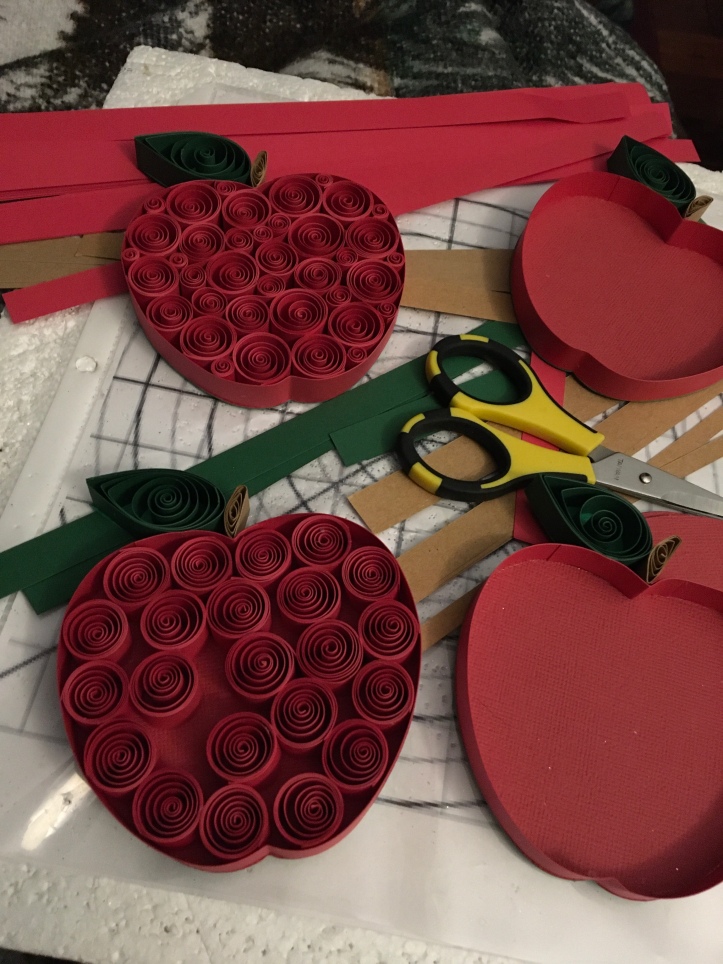
Back to rolling….I have about 275 strips of paper to turn into apples  .
.
Comments
Post a Comment
Hope you've enjoyed! Please feel free to leave a comment!